My Workbench with vise
![By Tiesse (Own work) [Public domain], via Wikimedia Commons Mybusyretiredlife.com workbench with vise portable workbench](https://www.mybusyretiredlife.com/wp-content/uploads/2016/01/Mybusyretiredlife.com-portable-workbench.jpg)
Portable commercial workbench
A workbench with vise used to work on projects has always been a dream for me. Unfortunately, I don’t have enough space in a two car garage after a freezer, storage shelves, radial arm saw, toolbox, and a washer and dryer. So I needed something that I could use, but put away when done. It had to be portable, have a vise, it had to be designed so that I could put something on it and not have it roll off the surface. That’s a pretty tall order for something that has to go into the corner of the garage when not being used.
Design? What Design?
Normally I would sit down and sketch up something so I would not waste my time or effort. But this time was different, for some reason I went straight to the assembly part and skipped the design phase.
What Can I Use?
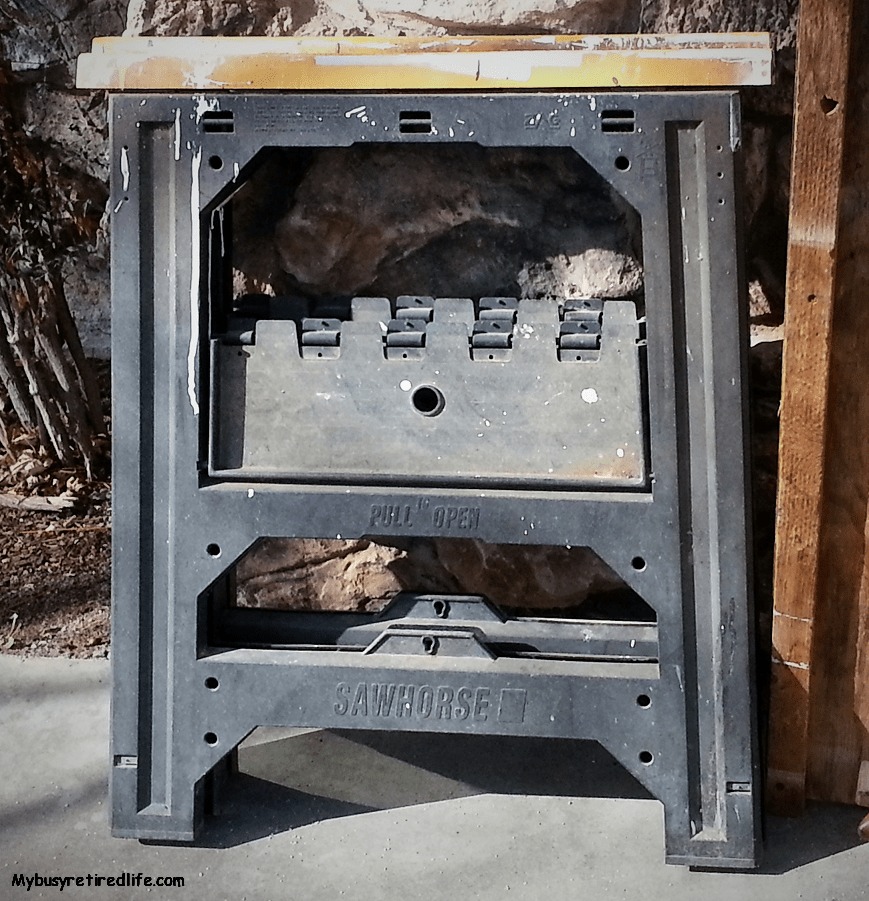
Folded Sawhorses
I looked around in my garage at what I had available. I found my foldup saw horses were the perfect height for working on most things. They folded up flat when not needed so I didn’t need to add anything to my already full garage. The best thing was that I already had them on hand so I didn’t need to buy them.
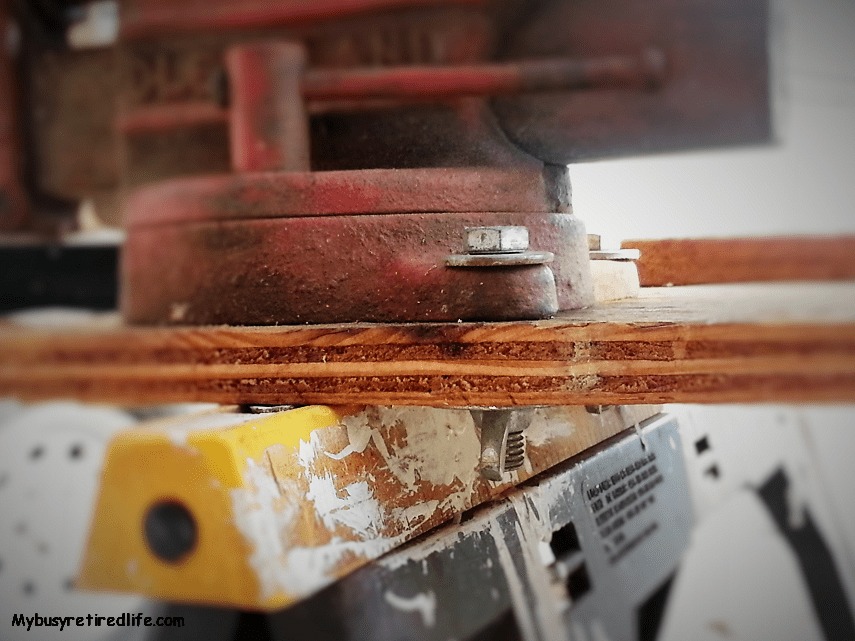
Plywood Vise Bolts Fender Washers And Wing Nuts
Light Weight Yet Strong
So I have the platform for the workbench, the legs. The surface would be wood. Length and width unknown at the time. Thickness is something that was going to matter. I was going to have to lift the table top into position and take it down when done. Weight was the enemy. I looked around again.
A wingnut or wing nut is a type of nut with two large metal “wings”, one on each side, so it can be easily tightened and loosened by hand without tools. From Wikipedia, the free encyclopedia
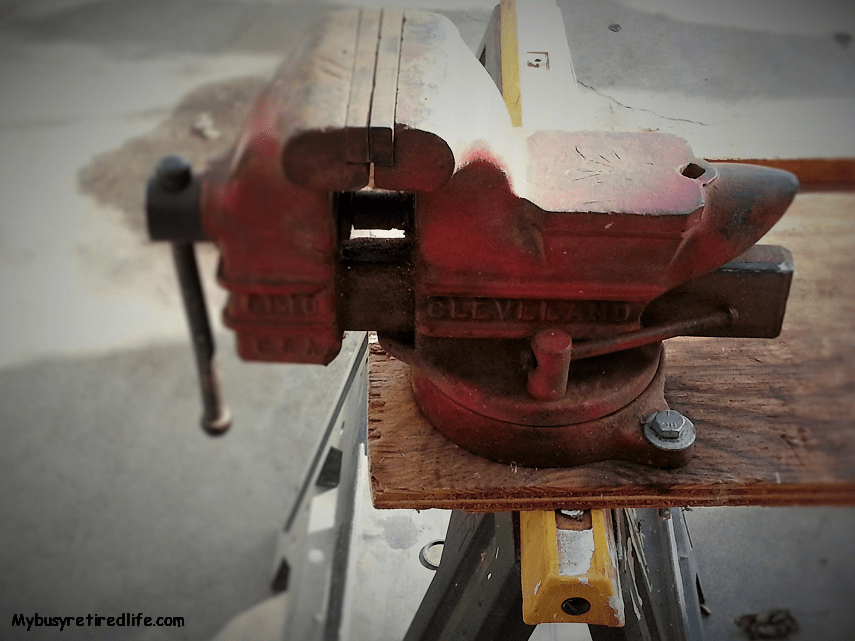
vise turned 90° straddling sawhorse
I Need A Vise
I found some plywood that I could use. My father in law had left me a vise. The vise had sat in my garage for way too long. I knew I needed to hold things from time to time to work on them and a vise is sometimes the best thing to use. My father in law’s vise to be part of the table top. I looked at where it should be placed. Traditionally vises on most workbenches I have seen are located on the corner of the workbench. The vise allows the material to be held vertically or horizontally and because it’s on the corner, the vise can be adjusted 90° if the material to be held requires it. The wheel has already been invented. I didn’t need to reinvent it. The vise is mounted on the corner.
Make It Simple But Effective
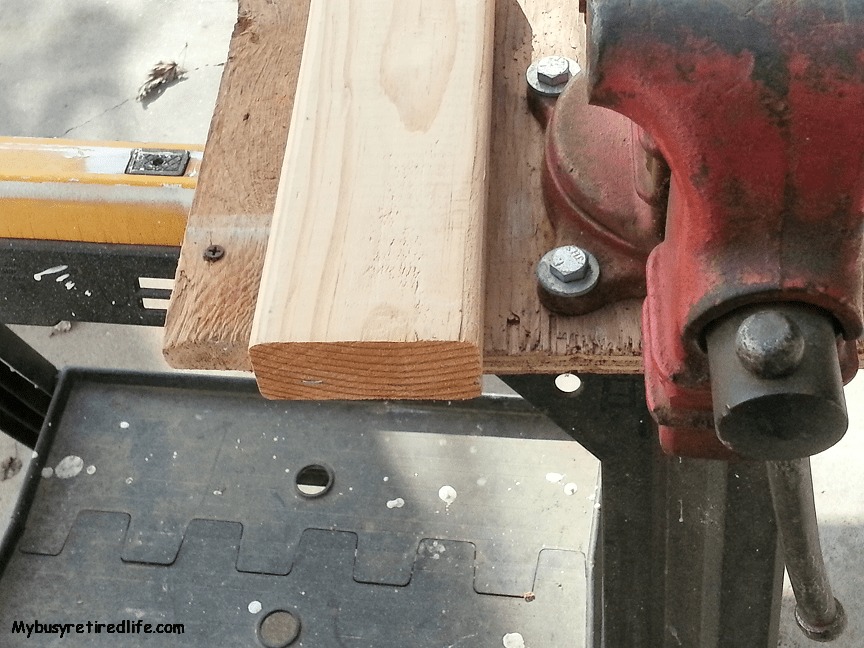
Space For A 2X4
Now I don’t know about anyone else but I find myself cutting material the width of 2×4’s about 80% of the time. I don’t want to be constantly removing and replacing the vise for a simple cut. So the depth of the workbench had to allow the vise to stay in place with a 2×4 behind it pushed against the fence while I’m cutting it. One other thing, sometimes I don’t need a vise, so the vise would need to be easily removed and installed when needed. Looks like bolts with wing nuts and large fender washers to spread the load over the surface of the wood were needed for a toolless change.
I Need A Fence
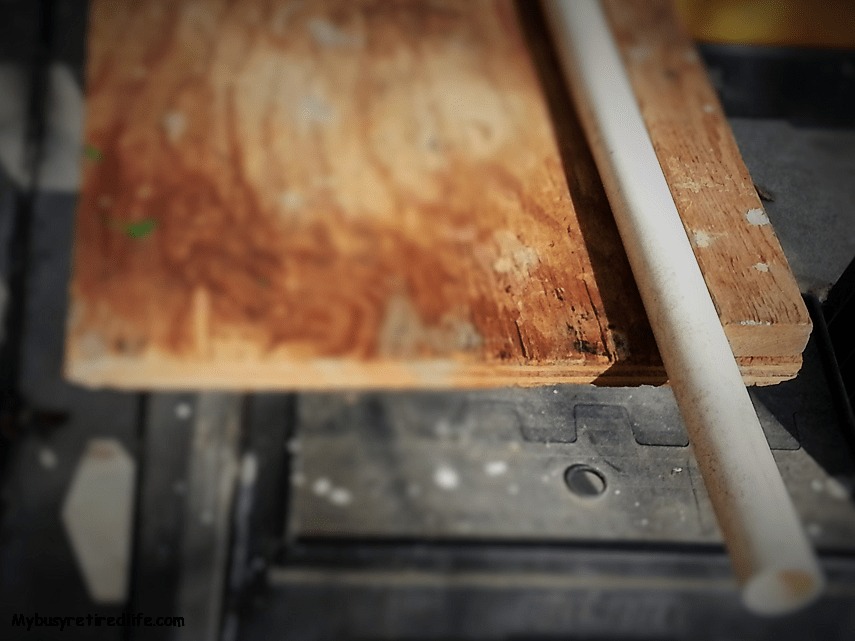
1×2 Stiffener Fence
I wanted the table top to be long enough to accommodate long pieces of material that I might work on, and able to keep things from rolling off the surface. I had some 1×2″ stock that I could screw to the plywood table surface. The 1×2″ would act as a fence/backer to place materials against for cutting and better yet it would add some additional stiffening to the plywood table top.
Portable Workbenches – Amazon.com
Oops! I Didn’t Think About That
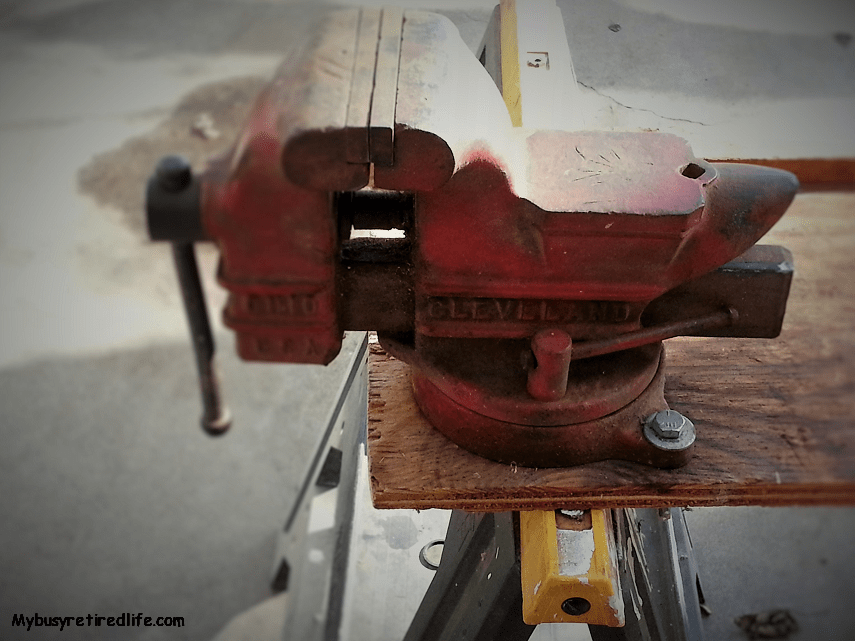
Vise Turned 90° Straddling Sawhorse
I gathered the materials and put the thing together. I quickly found out that I hadn’t planned on the vise’s weight and it’s impact on the table. When I first put the table on the sawhorses with the vise overhanging the sawhorse. The table immediately started to flip up due to the weight of the vise overhanging the sawhorse. Rule #1 always have the vise straddle the top of the sawhorse don’t let it overhang the sawhorse for any reason.
The Finished Workbench
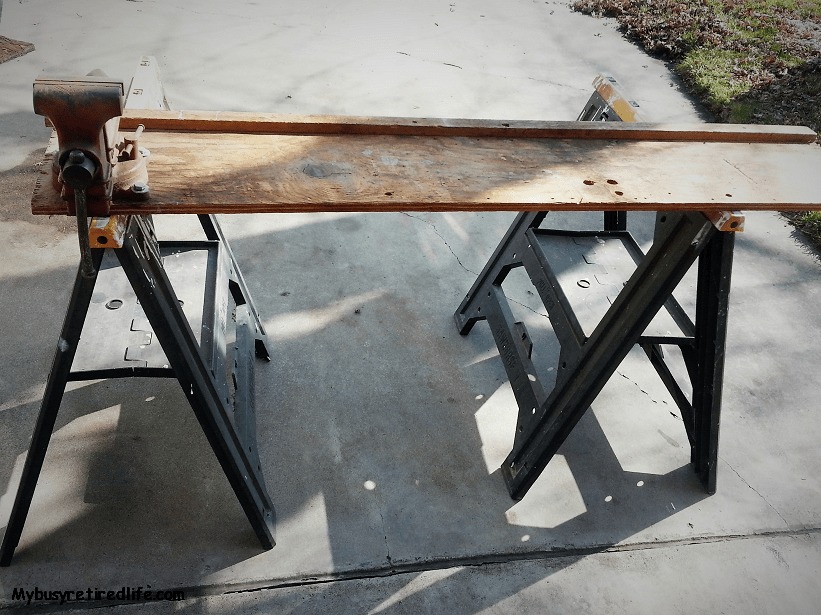
Workbench Set Up
For a workbench that had no plans, to begin with, this thing has gone through a lot of projects. It is very versatile, if I need a vise it’s there. If I need to add a cutoff saw it’s there. If I need a sander the vise and my belt sander held in its jaws make a great sander. The added 1×2″ holds round material from falling off the table surface while I cut it and provides additional stiffening for the table to handle the weight. It’s very portable my vise is attached when I store it.
It’s Not Perfect But It Will Do
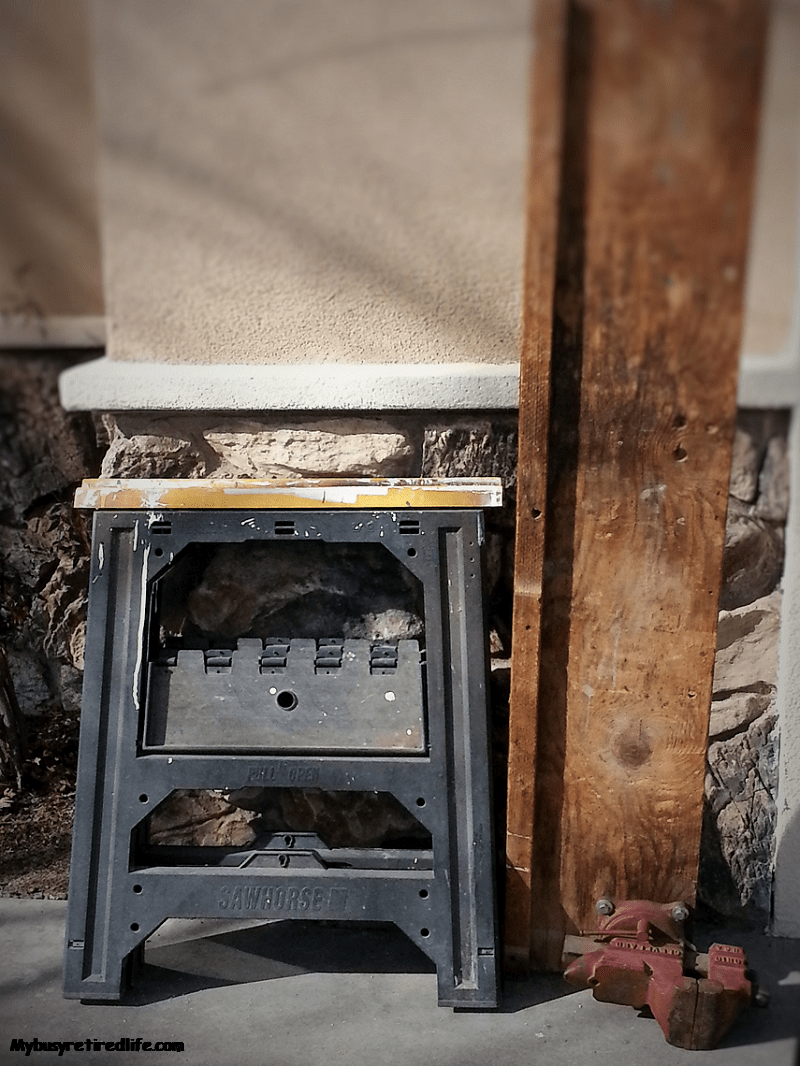
Storage Mode
It’s not perfect, it does have a problem in that it will move around from time to time as I am working. But I could easily fix that if I screwed it down to the saw horses. But I don’t want to do that as it would make more work to assemble and disassemble. The plywood is 1/2″ thick. The final overall length is 60″ the total depth is 12″ including the 1×2″ stiffener/fence. This lets the vise stay in place turned 90° while a 2×4 is between the vise and the fence.
I drilled holes for adding a power miter saw and with the length of the table, I was able to place supporting blocks for the material so it can lay flat during cutting. My total outlay for this workbench was the 3 bolts, fender washers, and wing nuts to hold the vise in place. When I have to replace this workbench I will probably change the depth to allow a 2×6 to fit behind the vise. That’s the only thing I will change, I am happy with my workbench, for me this is the perfect “workbench”.
Don’t like my workbench how about 20 Free workbench plans(click here)
Related Articles: More Articles on tool uses
(Mybusyretiredlife.com All rights reserved)
(Mybusyretiredlife.com All rights reserved)
(Mybusyretiredlife.com All rights reserved)
(Mybusyretiredlife.com All rights reserved)
(Mybusyretiredlife.com All rights reserved)
(Mybusyretiredlife.com All rights reserved)
(Mybusyretiredlife.com All rights reserved)
(Mybusyretiredlife.com All rights reserved)
(Mybusyretiredlife.com All rights reserved)
(Mybusyretiredlife.com All rights reserved)
