How to Remove Plastic Drywall Anchors
This article is about how to remove plastic drywall anchors from drywall so that there is a minimum of damage and prepare the leftover holes for filling. My wife needed to have some anchors removed recently. She placed it on the top of my to-do list. So I needed to remove several anchors in the wall and prepare the holes for spackle or drywall mud.
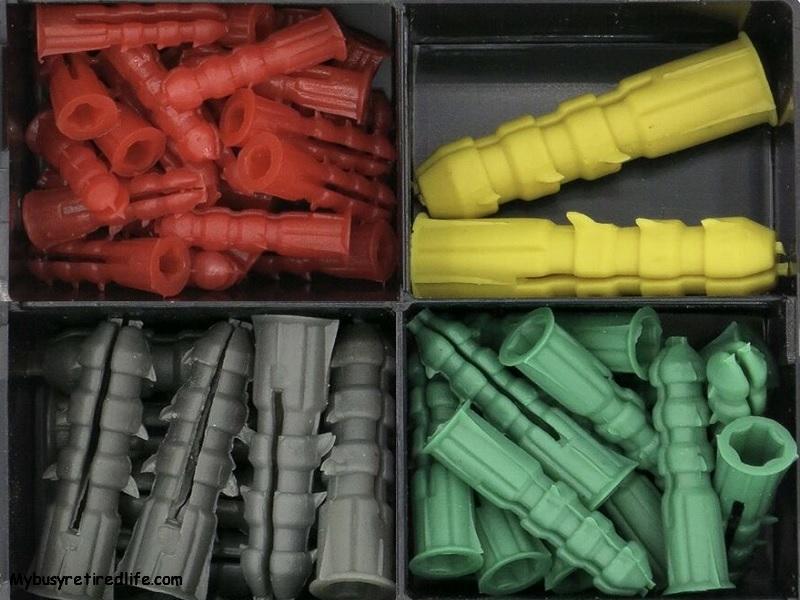
 Assorted Drywall Anchors
Tools required
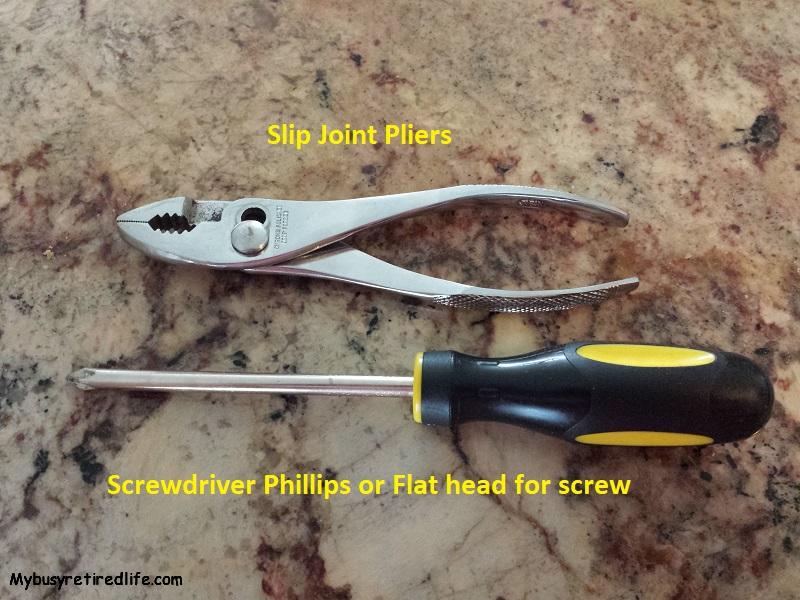
 Tools needed for drywall anchor removal
There are two basic tools I consider vital to successfully removing the anchors with a minimum of wall damage. The first tool is the screwdriver for the head of the screw in the anchor. In this case, it was a number two Phillips screwdriver. If the screw had been a slotted head type, then the screwdriver would have been a standard flat blade screwdriver.
The second tool required is the slip-joint pliers. This tool is required to help remove the screw and anchor. I like to use these pliers for this job because of their size. They are not too big(lengthwise). They will not exert a lot of pressure on the screw when you rock the screw/anchor(see step below). Their size also helps to minimize the hole size.
First step
 Drywall anchor expanding and non-expanding sections
The first step is to remove the screw in the anchor. Remove the screw then screw it back into the anchor but only for a couple of screw threads. You want to get the screw into the anchor only as far as the non-expanding part of the wall anchor. You do not want the screw threads in the expanding part of the anchor.
Second step
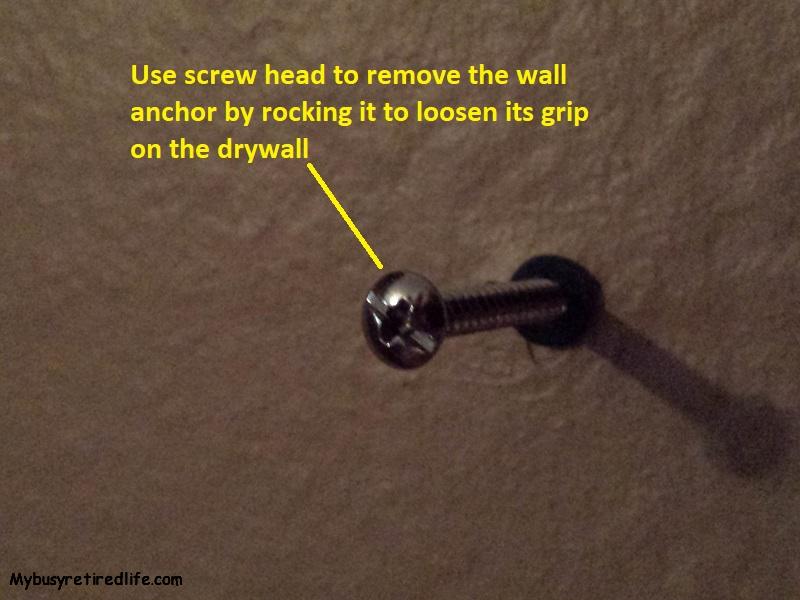
 Use the screw to remove the wall anchor
Once the screw is in place use the head of the screw to gently rock the screw, up and down and side to side. This will help the anchor to release the drywall and partially close the expanding part of the anchor.
Pull the screw
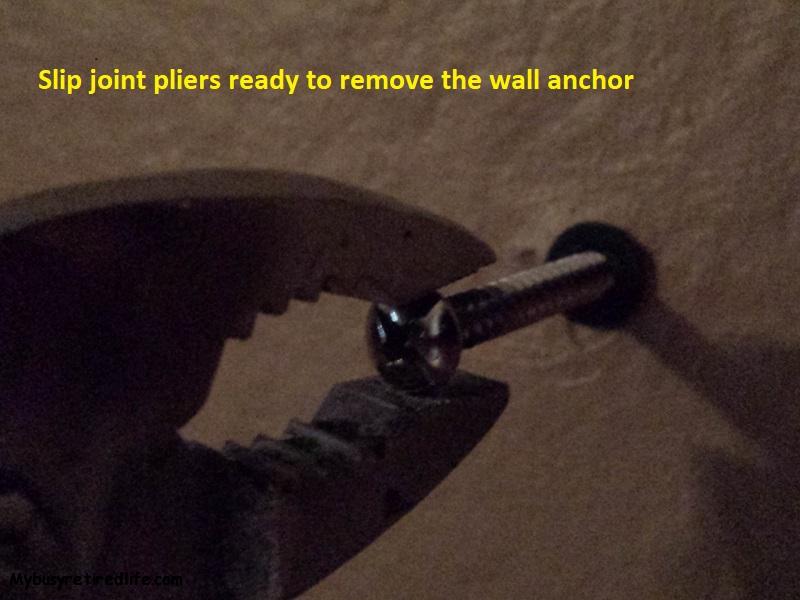
 Slip joint pliers ready to remove the wall anchor
Next, try to pull the screw and anchor out of the wall. If it won’t come out easily then use the slip-joint pliers to grip the head of the screw and while rocking the screw, up and down and side to side pull on the screw at the same time. It should slowly start to emerge from the wall. Rock and pull until the screw/anchor comes out of the wall.
Cleaning up the hole for patching
 Before and after photos of hole dimpling
Cleaning up the hole for patching involves using the screwdriver. But this time you will be using the other end. Use the rounded or ball end of the screwdriver handle to help turn the drywall surface of the screw hole into a dimple. First, firmly push down on the center of the hole. Then push against the outside edge of the hole towards the center of the hole to help create the dimple effect. Use your fingertips to determine any high spots around the hole and use the screwdriver handle to firmly push/smooth those high spots down until the hole no longer has edges or high spots.
Conclusion
 Hole dimpled and ready for filling
Congratulations, your screw hole should be much smaller and no longer have high or sharp edges. It is now ready for filling with spackle or drywall mud. You now know how to remove plastic drywall anchors and prepare the holes for filling.
Related Article: Patching A Hole In Drywall
(Mybusyretiredlife.com All Rights Reserved)
(Mybusyretiredlife.com All Rights Reserved)
(Mybusyretiredlife.com All Rights Reserved)
(Mybusyretiredlife.com All Rights Reserved)
(Mybusyretiredlife.com All Rights Reserved)
(Mybusyretiredlife.com All Rights Reserved)
